How To Use an Aviation Plotter for Navigation
What is an aviation plotter?
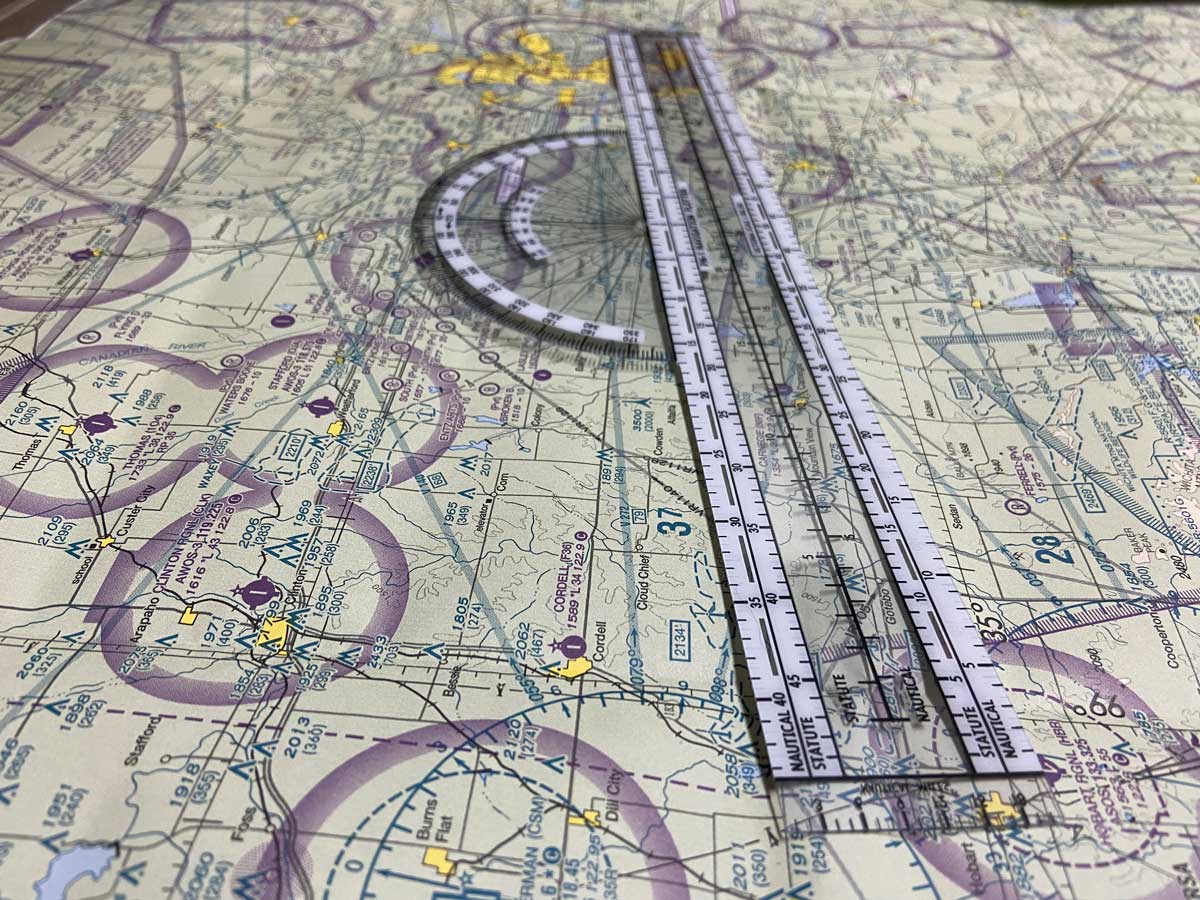
An aviation plotter looks like a plastic ruler but is designed for pilots working with paper aeronautical charts. The ruler measures distance in nautical miles, and sometimes statute miles, with scales for sectionals, WACs and TACs. The round part measures your true course, which you can convert into a compass heading. Plotters come in fixed and rotating types, need no batteries, and work quickly enough to use in the air.
In this article you’ll learn how to use a navigation plotter to help you plan your flights.
A pilot’s flight bag is full of all sorts of wonders. However, two items spark the most interest when you first bring them home. They are, of course, the E6B flight computer and the navigational plotter.
In today’s world of smartphones and Google, these items look to some like they belong in a museum. So how can something like this still be considered useful?
Well, let us count the ways these wonderful items are still worth having and take a closer look at the trusty navigation plotter.
What is a Navigational Plotter?
An aviation plotter looks like a plastic ruler, but it’s specifically designed for pilots. In conjunction with an old-school paper aeronautical chart, it provides a quick and easy way to accomplish two tasks.
First, the ruler part of the navigation plotter allows you to make distance measurements on all three types of printed aeronautical charts. There are marks for measuring on sectional charts, the small-scale World Aeronautic Charts (WACs), or the large-scale Terminal Area Charts (TACs). Plotters are marked in nautical miles, but some still have statute miles as well.
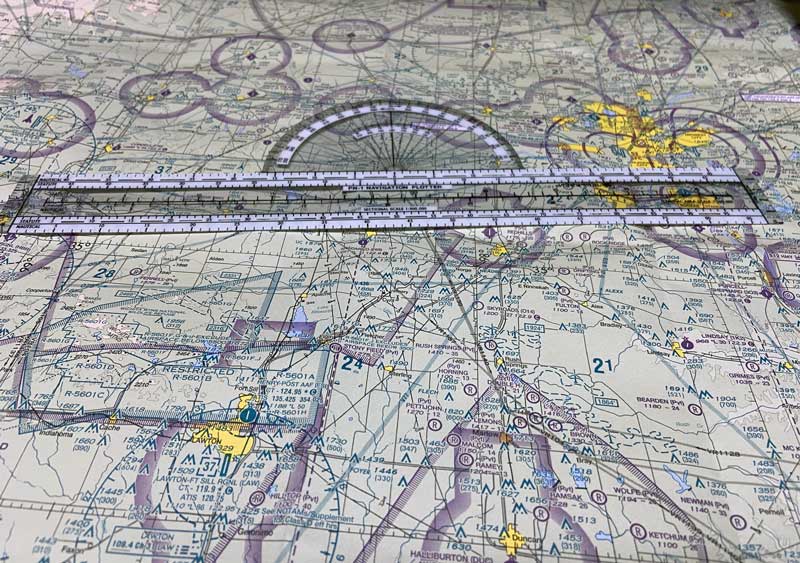
And then there’s the round part that measures angles. This part of the plotter is used to measure your true course. You can convert this into a compass heading with some fancy pilot math and a few other tools.
The beautiful thing about the navigation plotter is that it doesn’t require batteries, and it doesn’t require a lot of thinking. It works quickly, so you can even use it in the air.
They even make miniature versions that are a little easier to use in cramped cockpits.
The Two Types of Plotters
The two types of navigation plotters are fixed plotters and rotating plotters. A rotating plotter has a spinning circular tool in the middle for measuring angles, but both types work much the same way.
There are two distinct types of plotter, but both of them work pretty much the same. One is a fixed plotter, while the rotating plotter has a spinning, circular tool in the middle for measuring angles.
Both types are equally easy to use and do the same things. But like the E6B mechanical flight computer, they require some practice to get comfortable with.
However, once you’ve learned how to use it and practiced it a few dozen times, it’ll be a skill that sticks with you for the rest of your life.
Now that we’ve covered what it is and the different types of plotters, let’s actually look at how to use the plotter.
How Do You Use a Navigation Plotter?
A navigation plotter is a ruler-like tool used on paper charts. Every plotter task starts with a line drawn between two points, which in most cases is the ground track you want to fly on a cross-country.
When you first look at a navigation plotter it may seem like an over the top ruler. But learning how to use a plotter isn’t all that difficult.
All actions you make with a plotter will start with a line drawn between two points on a paper chart. In most cases, this line will be the ground track you want to fly on a cross-country.
1. Measure the Distance Between Two Points
Distance on a plotter is measured from the zero mark at Point A, using the scale that matches your chart, usually the sectional scale. For long lines, measure in segments and add the numbers together.
Start by measuring the distance between the points.
You’ll need to identify which type of chart you’re using and find the correct scale to use on the plotter. Most of the time, you’ll have a sectional chart—and that’s usually the most prominent feature on the plotter’s long ruler.
Start measuring at Point A. Be sure you start measuring at the zero mark, which may or may not be the physical edge of the plotter.
If your line is longer than the plotter, mark the chart at the farthest point the plotter can measure. Then start again from that point, and add the two numbers together to get the total distance.
When measuring distance with your plotter, always double-check that you use the correct chart scale and the correct units.
2. Measure the True Course Angle
Finding your course over the ground will depend on the type of plotter you have.
Fixed Plotters
A fixed plotter gives a precise course only if you first estimate the answer. Place the grommet where the course crosses a line of longitude, align the edge with the course and pick the reading closest to your estimate.
Fixed plotters require you to go into the measurement with a rough idea of what the result will be.
If you look at the angular measurements marked on your plotter, you’ll see that each position can provide you with multiple answers. The plotter will provide a precise answer, but only if you get it in the ballpark.
To do that, estimate what you think the course should be. Use what you know about the compass rose and some common sense. North is 0 or 360 degrees, east is 090 degrees, south is 180 degrees, and west is 270 degrees. With that in mind, you can look at the course line and get reasonably close.
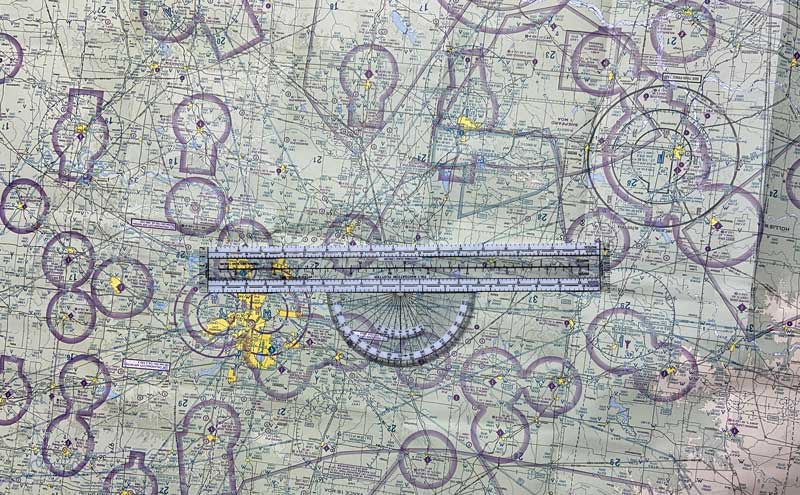
With your estimation in mind, place the center hole (grommet) of the plotter over any point along your course where it intersects with a line of longitude. Lines of longitude run from top to bottom on your chart.
With the grommet over the intersection, make sure the long flat edge of the plotter is aligned precisely with your course.
Look at where the line of longitude exits at the top of the plotter’s round side. You should get at least two options. Whichever one is closest to your original estimation is the correct answer.
If your course is very nearly north or southbound, it may not cross any lines of longitude. Instead, use a line of latitude. But, you must then use the plotter’s inner-most scale to find the correct course.

Rotating Plotters
A rotating plotter has a center wheel that turns around the grommet, which saves some thinking. Align the edge with your course, rotate the wheel until its grid matches north on the chart, then read the course.
A rotating plotter functions in much the same way. But these allow you to move the angle measurements around the grommet, which saves you a little bit of thinking in the process.
Start the same way–place the grommet over a line of longitude or latitude and align the plotter with your course.
While keeping the course lined up on the long edge of the navigational plotter, you can now rotate only the center wheel until it is aligned with north and south on the chart. It has a black grid printed on it to help. You can use any line of latitude or longitude, just so long as the grid is perfectly aligned and north on the plotter matches north on the chart.
Your course is then read along your course line on the chart. Both directions are given.
No matter which style of aviation plotter you use, always double-check yourself with some common sense. Is the number you got approximately correct on the compass rose?

Converting True Course Into Compass Heading
Converting a true course to a compass heading takes three corrections. Wind drift from the E-6B gives true heading, magnetic variation from the chart gives magnetic heading, and deviation from the compass card gives compass heading.
Of course, a pilot’s work is never done. Once you know the true course from the chart, you have a few more steps before you’re ready to fly a compass heading.
- True Course — Measured off the chart with a navigation plotter
- True Heading — Course that has been corrected for wind drift using the back of your E-6B flight computer
- Magnetic Heading — Corrected for magnetic variation, found on your chart
- Compass Heading — Corrected for deviation, found on the compass card in your airplane